Pages

Tuesday, 5 April 2016

Happy Quickie

Hi Fave Ravers

Felm and I are are in a happy mood having just booked our latest road trip, and at the end of April we will be off to Jersey. So here is a little quickie  to remind you butterflies are on their way


Started with a blank piece of watercolour card and gave a few shake of Brushos and a few shakes of Pixie Powder (for the metallic sheen) then I sprayed the page with water, adding more shakes of colour if I felt it necessary. When it was dry I selected the part I wanted and cut it to size to match the embossing folder, a quick whiz through the embossing machine and we were nearly there. Finally using a blending tool I put a small amount  of Silver Alchemy Wax onto the sponge and worked it in a little and gently ran the sponge over the embossed parts to give me a gentle sheen. All it needs now is matting and layering onto the card and a quick and easy card is ready.

And another one I did earlier from the same background watercolour card


Happy crafting till next time

Irene

Saturday, 26 March 2016

Step by Step Book Cover

Hi everyone , hope you bear with me on this, it is my first blog!!!
This is our finished book cover, we hope you like it and enjoy trying it for your self

The finished article

Next the list of materials you need
Tissue paper (we rescued this from the packaging in a box, love freebies), Archival ink refill in Sienna,Deco Art Decoupage glue, Deco Art white crafters acrylic, Deco Art metallic paints in Splendid Gold and Copper and Deco Art Antiquing Cream Patina Green and of course a book.We used an old out of date diary and lighted sanded the cover to give a little tooth or key.
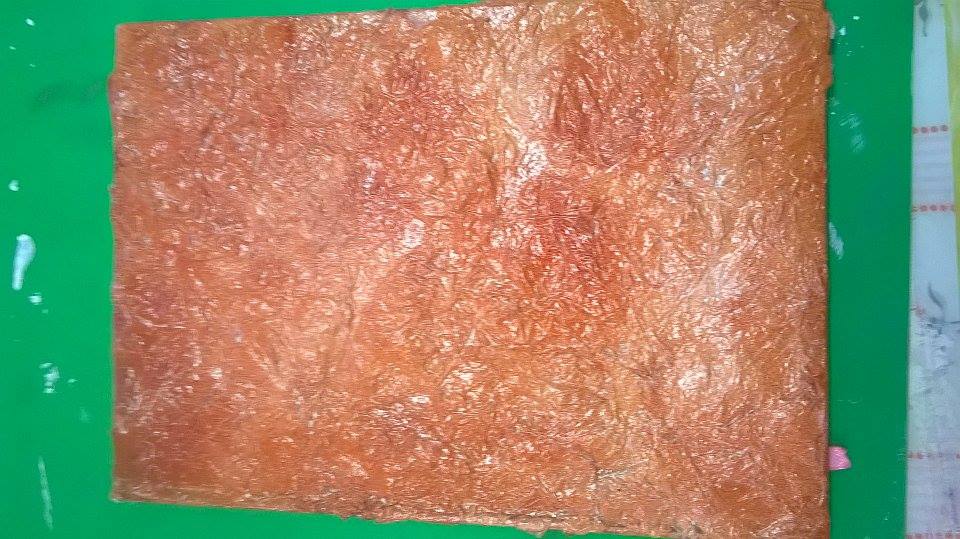
Tear up the tissue paper into irregular shaped pieces between 2 and 3 inches in size and using the Decoupage glue tissue paper to cover all the front of the book.Some pieces we scrunched more to give a varied texture
Leave to dry and then paint a cover of the white acrylic paint.Leave to dry and add one more coat of glue and again leave to dry.Or if like me you have no patience, get out your heat gun or hair dryer


Then using a blending tool and your Sienna ink coat the whole of the cover


When this has dried take your antiquing cream and rub in (i used my fingers) in random areas


Leave this to dry and then take a baby wipe and gently rub back the antiquing cream until you are happy with the effect
Final stretch now, take your metallic paints and using a dry brushing technique add highlights to your cover until you are happy with the effect


And one stunning book cover completed. Hope you enjoyed my first post and hopefully i will get better. Love you all

Tuesday, 16 February 2016

Welcome to our Blog!

Fave Rave is now in Blogland - follow us for the latest news, offers, workshops and more!